Repaint and Refresh Aluminum Window Ledges for Office
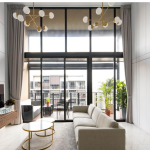
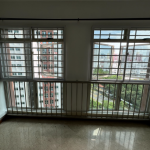
Maintaining the aesthetics of your office often involves paying attention to details that might otherwise be overlooked, such as the condition of your aluminum window ledges. Over time, these ledges can become worn, chipped, or faded due to exposure to the elements. Fortunately, with the right tools and techniques, you can restore them to their former glory or even give them a brand-new look. This guide will walk you through the process of professionally repainting and refreshing aluminum window ledges using spray painting and PU paint. You can watch the video of recently completed work for one of office unit at UOB Plaza, Singapore.
Why Repaint Aluminum Window Ledges?
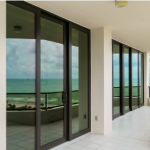
Aluminum window ledges, like other exterior features, are subjected to constant weather changes, which can lead to the paint fading, scratch marks, chipping, or peeling over time. A fresh coat of paint not only revitalizes the appearance but also provides an added layer of protection against further damage. Additionally, a well-painted window ledge enhances the overall look of your office, contributing to curb appeal and even property value.
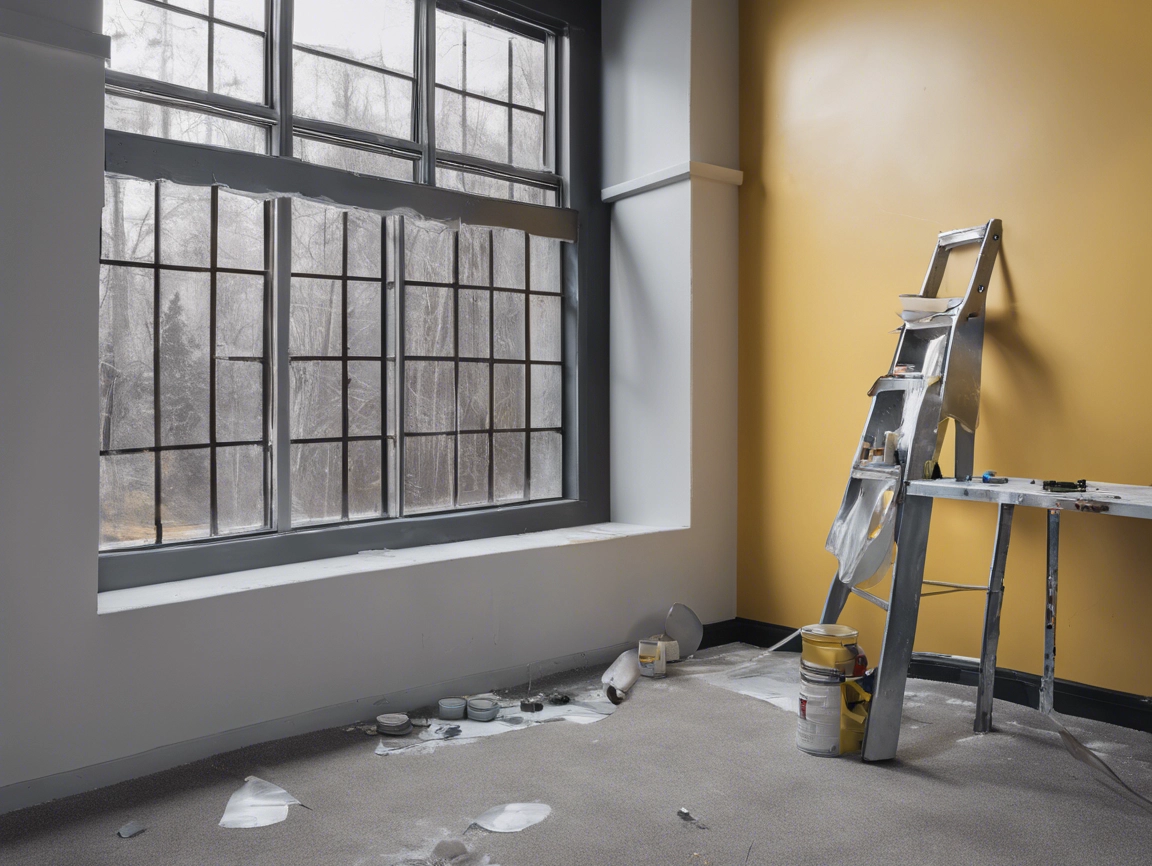
Step 1: Surface Preparation
The first and arguably most crucial step in this process is preparing the aluminum window ledge. Proper surface preparation ensures that the new paint adheres well and provides a smooth, long-lasting finish.
Start by using medium-grit sandpaper to sand down the entire surface of the window ledge. This step removes any old paint, rust, or imperfections and creates a slightly rough texture that helps the primer bond to the metal. Be thorough—uneven surfaces or leftover paint can lead to poor adhesion and an uneven finish.
Once the sanding is complete, use a damp cloth to wipe down the ledge and remove all dust and debris. A clean surface is essential for the primer and paint to adhere correctly.
Step 2: Masking and Protection
With the surface prepped, the next step is to protect the surrounding areas. Use masking tape to cover the window glass, nearby walls, and any other surfaces you don’t want to paint. It’s also a good idea to place drop cloths over the floor or any nearby furniture to protect them from paint splatters.
Take your time with the masking process, ensuring that all edges are neatly covered. This step is crucial for achieving crisp, clean lines once the painting is complete.
Step 3: Applying Primer
Priming is an essential step that many DIYers tend to skip, but it’s vital for a long-lasting finish. A good quality primer designed for metal surfaces will provide a strong base for the paint, improve adhesion, and even out the surface.
Shake the primer well before applying it to the ledge. Using smooth, even strokes, apply a thin layer of primer to the entire surface. Make sure to cover every part of the ledge, paying close attention to any corners or edges.
Allow the primer to dry completely before moving on to the next step. Drying times can vary depending on the product, so be sure to follow the manufacturer’s instructions.
Step 4: Mixing the PU Paint
While the primer dries, it’s time to prepare your paint. Polyurethane (PU) paint is an excellent choice for aluminum surfaces due to its durability and glossy finish, which not only looks great but also provides an additional layer of protection.
Pour the PU paint into a mixing container and use a paint mixer to blend it thoroughly. This ensures that the color is consistent and that there are no lumps or inconsistencies in the paint.
Step 5: Spray Painting the Ledge
Now comes the most satisfying part—applying the paint. Using a spray gun allows for a smooth, even application, giving you a professional-looking finish without the brush marks.
Load the spray gun with the mixed PU paint and, holding the gun about 6-8 inches away from the surface, begin applying the paint in slow, steady passes. It’s important to keep the gun moving at a consistent speed to avoid drips or uneven coverage.
Apply a thin first coat and allow it to dry. After the first coat is dry, inspect the ledge for any areas that may need a touch-up or additional coverage. If necessary, apply a second coat, ensuring that the finish is even and smooth.
Step 6: Finishing Touches
Once the paint has dried completely, it’s time to remove the masking tape and assess your work. Carefully peel away the tape to reveal crisp, clean edges. At this stage, you should be looking at a window ledge that looks brand new, with a smooth, glossy finish that’s both aesthetically pleasing and protective.
Allow the paint to cure fully before exposing the ledge to the elements. Curing times can vary, so be sure to follow the paint manufacturer’s recommendations.
Conclusion
Repainting and refreshing aluminum window ledges is a straightforward project that can significantly enhance the appearance of your home or office. By following these professional steps—thorough surface preparation, proper masking, and careful application of primer and PU paint—you can achieve a durable, high-quality finish that will stand the test of time.
Whether you’re restoring an old ledge or simply updating the look of your windows, this guide provides all the information you need to tackle the project with confidence.
Get 9reno.com Spray Painting Specialist
Don’t look other, get the professional spray painting specialist for your office aluminum windows or ledges. Hassel free and get the job done quickly.
Find other past spray painting window project video.